Lye, electrolysis, and the self-cleaning oven: what each
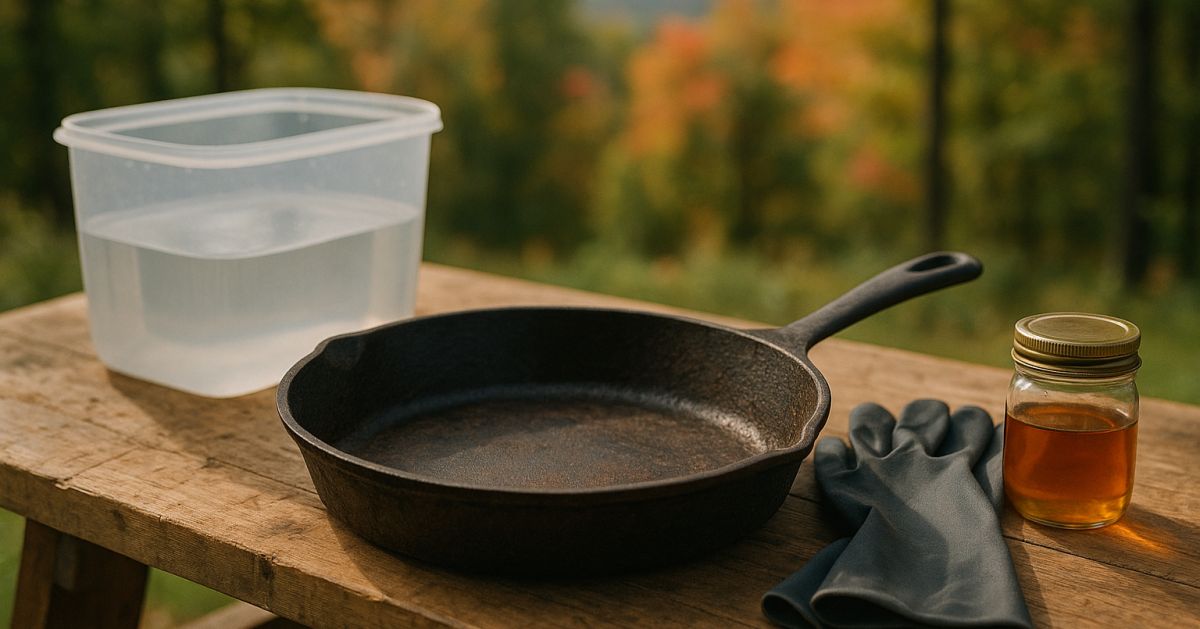
Scrubbing rust off a cast iron skillet feels satisfying until you realize the wrong stripping method just damaged the very pan you were trying to save. Each approach works differently at a chemical and physical level, and understanding those differences is what separates a restored heirloom from a warped, pitted regret.
This post walks through the three methods homeowners reach for most often: lye baths, electrolysis tanks, and the self-cleaning oven cycle. For each one you'll learn what it actually does to the iron, where it excels, and where it can go wrong. No method is universally "best." The right choice depends on what's on the pan, how old the pan is, and how much time and safety gear you have on hand.
Why stripping matters in the first place
Every cast iron skillet develops layers of seasoning over years of cooking. Seasoning is polymerized oil, meaning oil that has been heated past its smoke point and bonded chemically to the iron surface. A good seasoning layer is tough, slick, and protective. But when that layer gets burnt, contaminated, rancid, or simply uneven, it stops working and has to come off before you can start fresh.
Rust is a separate problem. When bare iron is exposed to moisture and oxygen, iron oxide (rust) forms on the surface. Rust is not seasoning and cannot be cooked away. It has to be removed mechanically or chemically before the pan can be re-seasoned.
The goal of any stripping method is to remove old seasoning and rust without harming the iron itself. That last part is the tricky bit, because some methods that work perfectly on a thick, post-1950 pan can stress or warp thinner vintage pieces.
Our cast iron restoration services handle all three methods professionally, but if you want to understand what's happening before you hand over a pan, or before you try something yourself, read on.
Method 1: The lye bath
What lye actually is
Lye is sodium hydroxide (NaOH), a strongly alkaline compound. You may know it from soap-making or from the food-grade version used to cure olives and pretzels. In cast iron restoration, it is used in a diluted water solution, typically at concentrations between 3 and 10 percent by weight, though every restorer has a preferred ratio.
What it does to seasoning
Lye does not attack iron. It attacks organic material, which is exactly what polymerized oil is. The hydroxide ions break the ester bonds in the seasoned oil through a process called saponification, essentially turning the hardened oil residue into a soap-like substance that can be wiped or rinsed away. This is the same chemistry that makes lye the active ingredient in drain cleaners and oven sprays.
A lye bath typically takes anywhere from 24 hours to several days depending on concentration, temperature, and how thick the buildup is. The pan sits submerged in the solution. You check it periodically, and when the old seasoning has turned to a dark sludge that wipes away easily, the bath is done.
What it does to rust
Here is where lye falls short: it does not remove rust. Iron oxide is not an organic compound, so the alkaline chemistry that dissolves seasoning leaves rust completely untouched. If the pan has active rust, you will need to address that separately, usually with a brief vinegar soak (short, under an hour, to avoid etching the iron) or light mechanical scrubbing after the lye bath is complete.
Safety considerations
Sodium hydroxide is genuinely hazardous. The U.S. Occupational Safety and Health Administration (OSHA) classifies it as a corrosive that can cause severe burns to skin and eyes. A lye bath requires chemical-resistant gloves (not standard dish gloves), eye protection, and good ventilation. You should never mix lye with anything acidic, and the spent solution must be neutralized before disposal. Many municipalities have specific rules about drain disposal of alkaline solutions, so checking with your local public works department is worth the phone call.
Best suited for
- Pans with heavy, carbonized seasoning buildup but minimal rust
- Smooth-bottomed vintage pieces where aggressive scrubbing could scuff the cooking surface
- Situations where you have time and a safe place to set up a container outdoors
Method 2: Electrolysis
The basic physics
Electrolysis uses direct electrical current passed through a water-and-washing-soda (sodium carbonate) solution to convert rust back into iron at the surface of the pan. The pan becomes the cathode (negative terminal) and a separate piece of scrap iron or steel becomes the anode (positive terminal). When current flows, the rust (iron oxide) on the pan is chemically reduced back to iron, while oxygen is released at the anode.
This is sometimes called a "rust eraser" and that description is apt. Electrolysis reverses the oxidation reaction rather than scrubbing the oxide away, so it is remarkably gentle on the base metal. It does not abrade the surface at all.
What it does to seasoning
This is a detail that surprises people: electrolysis removes rust very well but is less effective on polymerized seasoning than lye is. The electrical process does loosen and partially lift old seasoning, but thick carbonized layers often need follow-up scrubbing or a lye pre-soak to come fully clean.
Setting up a tank safely
A basic electrolysis setup involves a plastic tub, water, washing soda (not baking soda, which is sodium bicarbonate and works differently), jumper cables or a dedicated battery charger, and scrap steel for the anode. The National Electrical Manufacturers Association and general electrical safety guidance recommend keeping all electrical connections well above the water line and never using stainless steel as an anode, because doing so releases toxic hexavalent chromium into the solution.
The gases produced at the electrodes include hydrogen and oxygen, which are flammable and explosive in enclosed spaces. The U.S. Chemical Safety and Hazard Investigation Board has documented cases of hydrogen buildup causing fires in confined areas. Run electrolysis outdoors or in a very well-ventilated space, away from any ignition sources.
Best suited for
- Heavily rusted pans where rust is the primary problem
- Pans with intricate surfaces, gates, or heat rings where mechanical scrubbing could miss crevices
- Restorers who are comfortable with basic electrical safety and have outdoor workspace
If you live in Newfane, Grafton, or Guilford where outbuildings and barns are common, you likely have the outdoor space and ventilation that electrolysis needs. Our Newfane restoration location can also handle this step for you if setting up a tank feels like too much.
Method 3: The self-cleaning oven cycle
What actually happens inside a self-clean cycle
Modern self-cleaning ovens use a pyrolytic cleaning process. The oven locks its door and raises the interior temperature to roughly 800 to 1000 degrees Fahrenheit (425 to 540 degrees Celsius), per the appliance manufacturer documentation from brands like GE and Whirlpool. At those temperatures, food residue and organic material are burned to a fine ash that can be wiped away after the cycle cools.
For cast iron, this means the polymerized oil that makes up seasoning is incinerated. The pan comes out completely bare, stripped of every layer of seasoning, and covered in a fine reddish-gray ash that wipes off to reveal raw iron beneath.
The warping and cracking risk
Here is the part that should give you pause before you slide a skillet onto your oven rack. Cast iron is a brittle material. It does not bend under stress. Instead, it cracks. Thermal stress occurs when different parts of a pan heat or cool at uneven rates, creating internal tension that the metal cannot relieve by flexing.
Home oven self-clean cycles are not designed with cookware geometry in mind. The temperature rise and, especially, the cool-down can be uneven. Thin-walled vintage pieces, pans with pre-existing hairline cracks, and pans with repaired or welded spots are all at elevated risk. A pan that survives the heating phase can still crack during the slow cool-down if air circulation causes one side to cool faster than the other.
Thicker, modern cast iron (post-1960 Lodge-style pieces, for example) generally tolerates the self-clean cycle better than the thin, machined skillets made by pre-war foundries like Griswold or Wagner. If you own a piece of that vintage, read our post on what the foundry differences between Griswold, Wagner, and Erie really mean before you put it in a self-clean cycle.
The rust timeline
Because the self-clean cycle brings the pan to bare iron, rust begins forming almost immediately when the pan is exposed to the air and humidity inside the oven as it cools. You need to be ready to move quickly: pull the pan out as soon as it is safe to handle, wipe away the ash, apply a thin coat of oil, and either begin the re-seasoning process right away or at minimum protect the surface until you can.
In Southern Vermont's climate, particularly during the humid stretches that arrive in Brattleboro, Dummerston, and Wilmington from late spring through early fall, bare iron can develop surface rust within an hour or two if left unprotected. Our team serving cast iron restoration in Brattleboro sees this regularly, and the fix is straightforward as long as you don't wait too long.
Best suited for
- Thick, modern cast iron with no cracks or repairs
- Situations where a lye bath or electrolysis setup is not practical
- Restorers who can re-season the pan the same day
Comparing the three methods side by side
| | Lye bath | Electrolysis | Self-clean oven | |---|---|---|---| | Removes seasoning | Excellent | Moderate | Excellent | | Removes rust | No | Excellent | Converts to ash (sort of) | | Risk to the pan | Low if done correctly | Very low | Moderate to high for thin vintage pieces | | Safety concerns | Chemical burns, disposal | Electrical, hydrogen gas | Heat, rush to re-season | | Time required | 1 to 5 days | 4 to 24 hours | 3 to 5 hours plus cool-down | | Equipment cost | Low | Low to moderate | None (if you own a self-clean oven) |
Common mistakes that come up again and again
A mistake that comes up repeatedly in cast iron owner communities is using white vinegar to strip rust and leaving the pan in the solution too long. Vinegar is dilute acetic acid, and while it does dissolve iron oxide, it also attacks the base iron. More than an hour or two in a vinegar solution can etch pitting into the surface that was not there before. Use it briefly and rinse thoroughly.
Another frequently reported error is combining methods without thinking through the sequence. Lye first, then electrolysis for any remaining rust, then re-season is a logical and gentle order. Doing the self-clean cycle after electrolysis is usually redundant and adds unnecessary thermal stress.
Leaving a pan to soak in a lye bath longer than needed is rarely harmful to the iron itself, but the pan that emerges will be completely bare and will begin to rust immediately, just like the post-self-clean situation. Have your re-seasoning plan ready before you pull any stripped pan out of any solution.
What to do after stripping, regardless of method
- Rinse the pan thoroughly with hot water to remove all residue (lye bath pans need thorough rinsing to remove all alkaline residue before they can be safely handled and re-seasoned).
- Dry the pan completely using a stovetop burner on low heat, not just a dish towel, to drive out any moisture trapped in the pores of the iron.
- Apply a very thin, even coat of a high smoke point oil (flaxseed, grapeseed, or plain Crisco are all commonly used) while the pan is still warm.
- Bake the pan upside down in a 450 to 500 degree Fahrenheit oven for one hour, then let it cool in the oven.
- Repeat the seasoning process three to six times for a durable initial seasoning layer.
The first few cooks after stripping should involve fatty foods like bacon or a pan of cornbread made with generous shortening. Acidic foods like tomato sauce and high-moisture foods like scrambled eggs should wait until the seasoning has built up over several sessions.
When to hand it off
Stripping a pan yourself is genuinely satisfying, and for a sturdy, unremarkable piece it is a reasonable Saturday project. But for pans with sentimental or monetary value, thin-walled vintage pieces, or anything with pre-existing damage, the margin for error is narrow. A crack from a bad self-clean cycle or aggressive scrubbing cannot be undone.
Our full restoration services cover the entire process from strip to final seasoning, and we work with customers across Athens, Putney, Dover, Bellows Falls, Halifax, and all the communities in our service area. If you're not sure which method is appropriate for your specific pan, or if you'd rather not gamble with an heirloom, the contact page is the easiest place to start. Describe the pan and we can tell you quickly what it needs.
A cracked or pitted pan is a hard thing to look at knowing it was avoidable. Understanding what each method actually does is the first step toward making a choice you won't regret.
Start a restoration
Tell us what you have
Send a couple of photos and the markings you can read on the bottom. We will tell you what the piece is, what it needs, and what it costs before anything ships. Identification and assessment are free, and stay free if you decide to do nothing.
Would rather just talk it through? (802) 348-1550